HOW TO CHANGE THE DEFAULT SYSTEM FONT ON WINDOWS 10
- khanaiham
- Mar 12, 2022
- 2 min read
How To Change The Default System Font Using Registry Editor
At The Moment Now In March 2022, Neither Settings Or Control-Panel Has An Option To Change The Default System Font. This Means That You Need To Use A Registry Hack To Change Your Computer’s Default Font.
Luckily, This Is Easy To Do. You Need To Create A Registry Hack File, Add Your New Font’s Name In It, And Execute The File To Change The Default Windows 10 Font.
To Begin, You Need To Know The Official Name Of The Font That You Want To Set As The Default System Font. You Can Find This Name Using The Settings App.
Open the Settings App By Typing Settings On The Search Box. You Can Also Press Windows+I to Quickly Open The Settings Window.

In Settings, Click “Personalization,” Then Select “Fonts” In The Left Sidebar. On The Right Pane, Find The Font That You Want To Set As The Default And Click The Font Name.

At The Top Of Your Screen, You Can See The Official Name Of Your Font. Note This Name.

Now, You Need To Create A Registry Hack That Adds This Font To The Windows Registry. You Can Use A Text Editor Like Notepad To Make Registry Hacks.
To Start, Open The “Start” Menu, Search For “Notepad,” Then Click The First Result.

Copy The Following Code And Paste It Into A New Notepad Document.
Then, Replace “NEW-FONT” In The Code With The Name Of The Font You Noted Earlier.
Make Sure That You Keep Double Quotes Around The Font Name As Already Shown In The Following Code Below.
Windows Registry Editor Version 5.00

[HKEY_LOCAL_MACHINE\SOFTWARE\Microsoft\Windows NT\CurrentVersion\Fonts]
"Segoe UI (TrueType)"=""
"Segoe UI Bold (TrueType)"=""
"Segoe UI Bold Italic (TrueType)"=""
"Segoe UI Italic (TrueType)"=""
"Segoe UI Light (TrueType)"=""
"Segoe UI Semibold (TrueType)"=""
"Segoe UI Symbol (TrueType)"=""

[HKEY_LOCAL_MACHINE\SOFTWARE\Microsoft\Windows NT\CurrentVersion\FontSubstitutes]

"Segoe UI"="NEW-FONT"
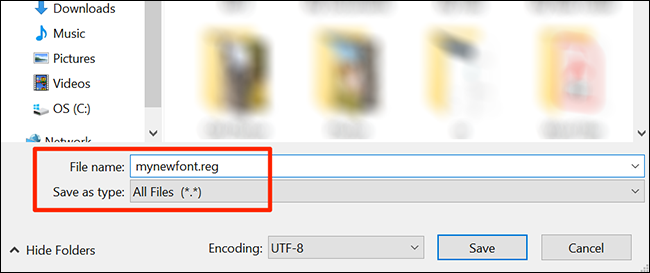
In Notepad, Click File > Save As. Then Enter A Name Followed By “.reg” In The “File Name” Field. For Example, To Save The File As “mynewfont”,You’d Type “mynewfont.reg”. Choose “All Files” From The “Save As Type” Dropdown Menu, Select A Location To Save Your File In, And Click “Save.”
Open The Folder Where You Saved Your Newly Created Registry Hack. Right-Click This File And Select “Merge.” This Adds The Values In Your File To The Windows Registry.

Click “Yes” In The Prompt, Then Click “Yes” Again To Add Your New Values To The Windows Registry.

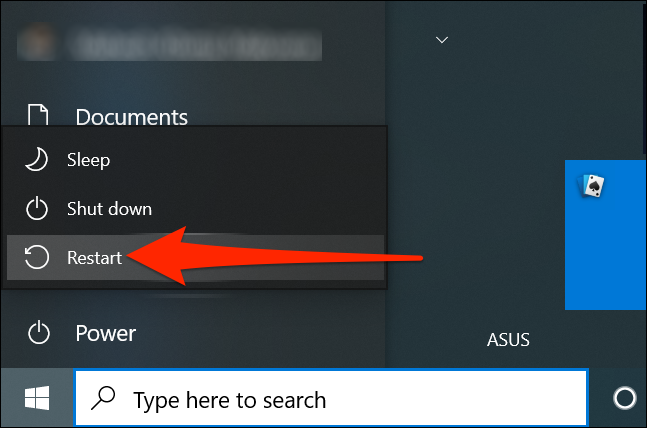
Lastly, Click The “Start” Menu, Select The Power Icon, And Choose “Restart” To Restart Your Computer. This Brings Your Changes Into Effect.
When Your Computer Boots Back Up, You’ll Find Your Selected Font Is Now The Default Font For Nearly All Windows Panels And Tools.


Comments